Our Border Run to Panama Part 1

Border hopping…it’s one of those things that every traveller has to go through…and turns out…I’m not a fan.

As we were planning our trip, we knew that we would need to leave Costa Rica at least once to meet the Visa requirements. A Visa in Costa Rica is only 90 days, and since we are here for 5 months, we would have to leave the country in order to get ours renewed.

Although we originally thought our border run would be next month through Nicaragua, so many people told us how wonderful Panama was, we to do it early to see the sights.

I had done a lot of research about border hopping, and it all seemed like quite the ordeal. Since we are fairly laid back travellers, and like to avoid stress as much as possible, we opted to book a tour to take us from our hotel in Puerto Viejo in Costa Rica, to Isla Colon in Bocas del Toro, Costa Rica.

You can certainly take public transit to the border, walk across, then catch it again on the other side, but that seemed far to adventurous for us.

We woke up bright, and early to catch our shuttle, and by the time it made it to our hotel it was VERY full. It was lucky there were no tunnels to go through, because all of the backpacks and bags were piled sky high on top of the roof of the van. We were given wrist bands to wear so we could be identified by the shuttle driver and began our journey. We slowly winded our way through the endless banana fields, until we reached our first hiccup.
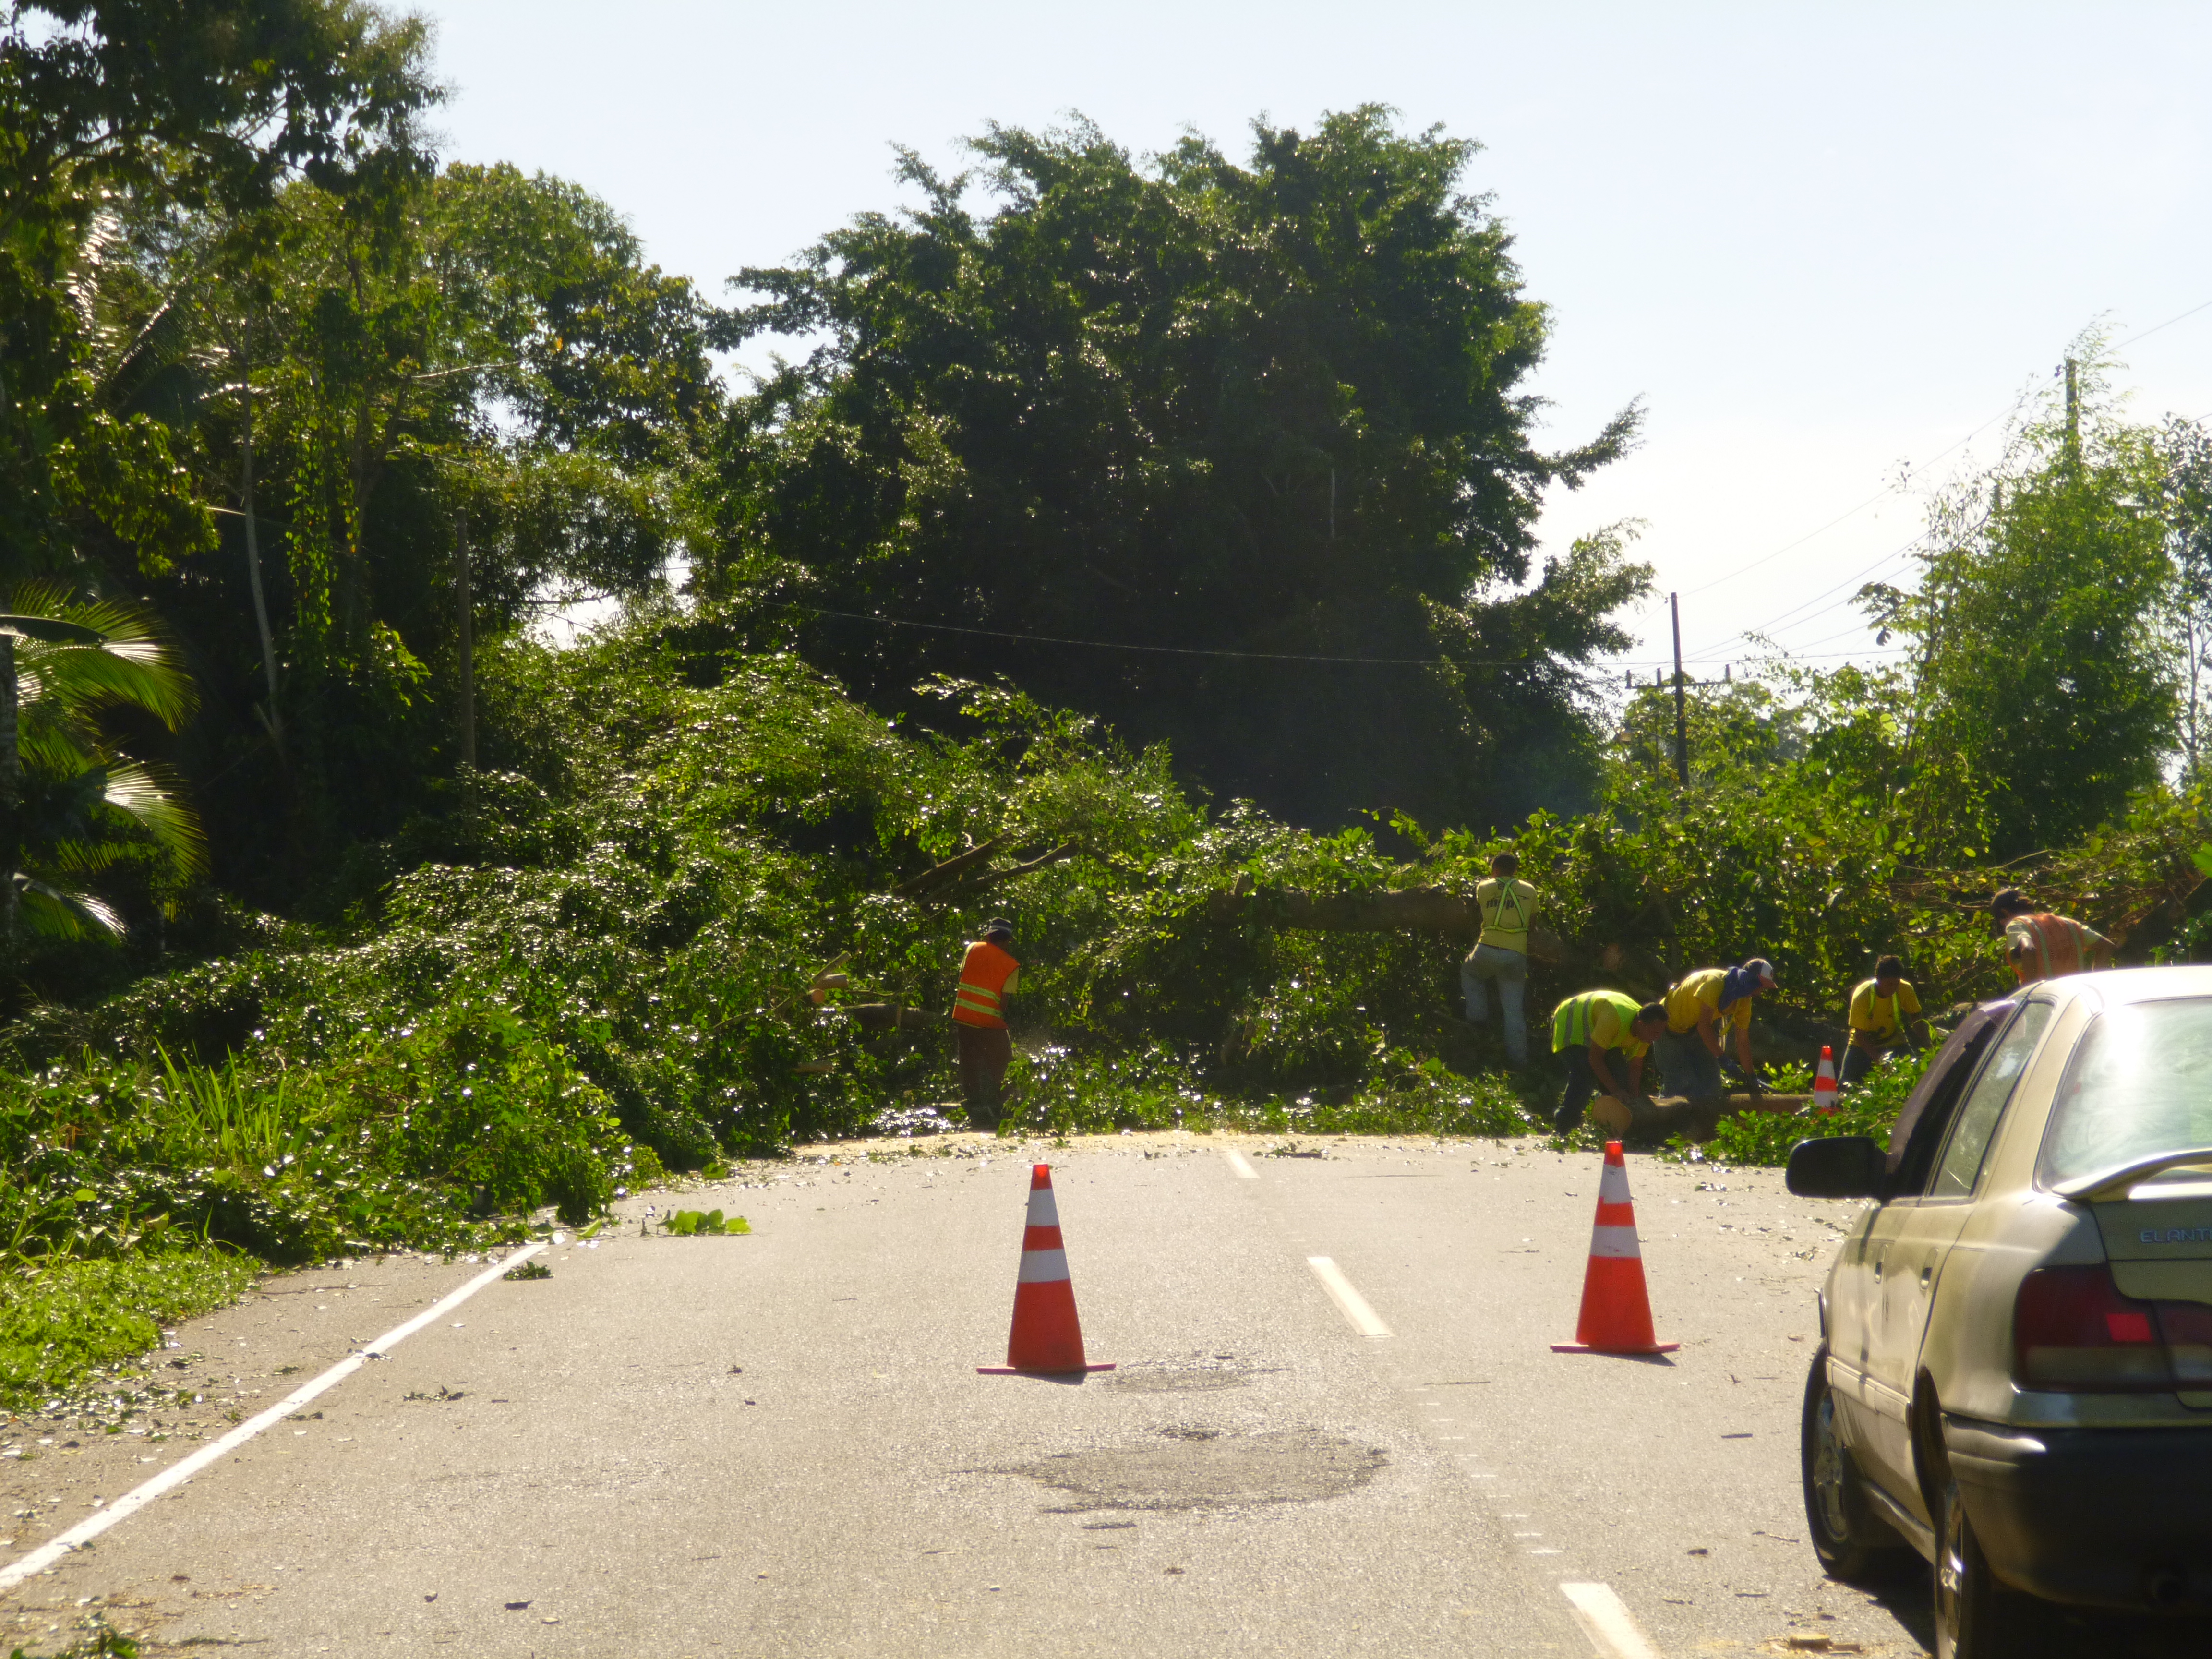
woops, road block!

woops, road block!

Yes my friends, that is a tree, right across the road. I am pretty sure that every shuttle we have taken through Costa Rica has involved some sort of strange occurrence, and this one was foliage based.

The shuttle parked, and everyone got out, while a maintenance crew worked away trying to clear the tree.

man down...he was actually just watching ants, but this picture looks  tragic

man down…he was actually just watching ants, but this picture looks tragic

As you can see, Shaun was thrilled. It seemed like we were going to be stuck for hours, but they worked fast and It ended up only taking about 25 minutes. We all hopped back on the shuttle and carried on. Shortly there after, we arrived at the border.

This is where the my stress levels started increasing a little. Unlike Nicaragua, cars are not allowed over the border into Panama. Our van stopped just before the archway of the border, and we all got out. We were handed our bags, and an immigration paper. Our shuttle driver left, and we assumed we needed to find our next shuttle driver on the other side. Some of the people on the tour just started walking towards the archway, while a few of us stood on the side of the road filling out our paper.

Rookie move.

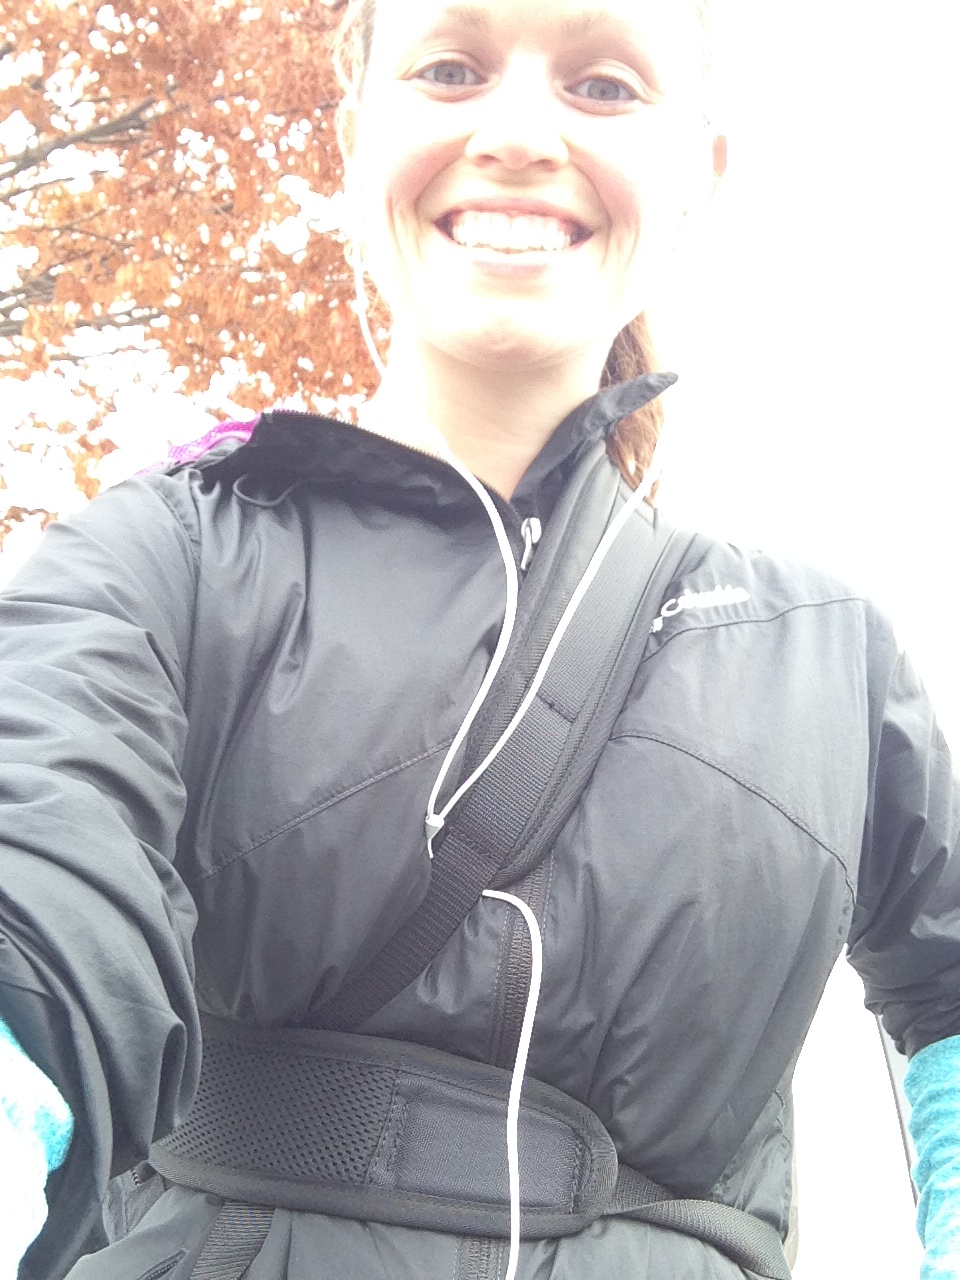
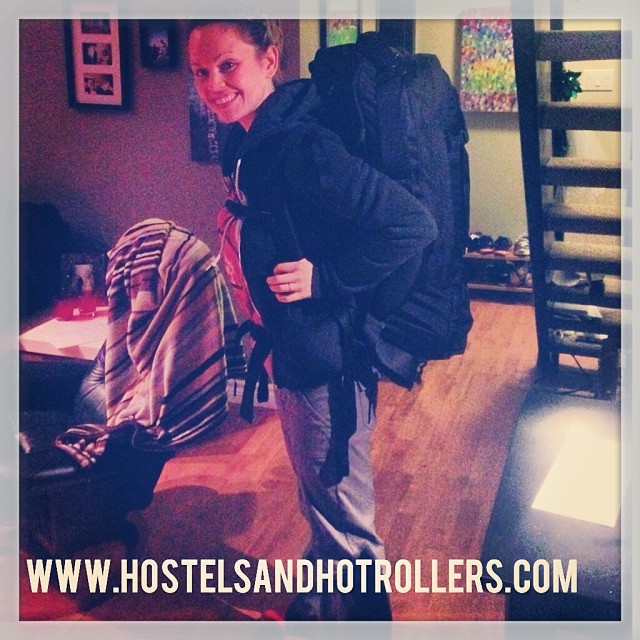
By the time we had filled out our paper, and started walking towards the archway, our group was split in two, as the rest of the tour group was much farther ahead in the line up. The remaining few of us gathered together on the hot pavement with all of our gear, and waited in line. I had been cold in the morning, so I had put my sweater on. Getting out of the van had happened so fast that I hadn’t had the chance to take it off. Now with Tatonka, Titty Tonka, and our food back lugged over my shoulder, I was a sweaty beast.

After about 25 minutes we made it to the front of the counter. This turned out to be Costa Rican Immigration. They stamped our passport, took our paper, and we left.

This picture doesn't even do it justice!

This picture doesn’t even do it justice!

Now, in doing my research, I had heard a lot of talk about this supposed “bridge”, and let me tell you, it lived up to all my expectations. To enter Panama, you have to walk across this rickety old railway bridge. The slats are loose, and there are gaps that a 7 year old child could easily fall through. Did I mention you have to do this while carrying all your gear? It was impressive to say the least.

Did we make it over the bridge you ask?

You will just have to wait and see, because this my friends, is a two parter.

Tomorrow on Hostels and Hot Rollers, Our Border Run to Panama Part 2

Pura Vida!

Kate

Follow me on Twitter: @caketress 

The Bootcamp Backpack Test Run

Some of you may know that I have been blogging as a guest “challenger” for my Bootcamp this month. Each month, one bootcamp member take on their own personal challenge, and documents it in some way. My challenge has been to take a more flexible approach to my fitness, and challenge myself to get comfortable creating effective workouts on the fly. If you’re interested in reading more about it, or learning about the best bootcamp in Victoria, feel free to check it out here!

So, last week, one of my challenges was to walk/run for an hour wearing a backpack with 15 pounds inside. Each time I got to a new street I had to do 20 jump squats, 20 step ups on a curb, and 20 fast lunges. I decided that this was the perfect opportunity to test out my backpack.

As many of you may have read previously, Tatonka is my backpack, and we are BFF’s. So I jumped at the chance to take her out for a spin. For this challenge, I decided to detach Tatonka’s day pack, and use that for my weights. I realized at that moment that I need a name for it as well. So far, I’ve come up with TinyTonka, TittyTonka, BittyTonka, but I’m open to suggestions!

Anyways, I started my challenge by loading up 15 lbs worth of barbel free weights into the pack, and I was off. The first thing I noticed was that the straps were too long. I had them adjusted as far as they would go, but found myself holding on to them to keep them taught. This is definitely a disadvantage to not buying a backpack made for a women. I felt that my torso just wasn’t long enough to have it fit right. That being said, I think a lot of that had to do with the amount of weight that was weighing it down. I doubt that I will often have 15lbs worth of weight in my daypack.

As the walk continued, Jenn, my instructor, challenged my flexibility by calling me and asking me to pick up milk for her. I then proceeded to get text messages from two other fellow bootcampers, also requesting milk. After making multiple purchases, I embarked, milk in hand, for the final leg of my trek. As I walked, I thought about how perfect this challenge was, as I’m guaranteed to be faced with lots of long walks carrying lots of weight in my not so distant future.

In the end, I made it all the way to the park where Jenn was teaching a morning class. photo 1 (2)She was kind enough to snap a photo of me, milk in hand, looking very relieved to have arrived.

She was also kind enough to take the milk off my hands for my run home. I knew at this point that I was going to have to make some sort of adjustment to the pack in order to run the 5km back to my car. So, with Jenn’s help I played around with the straps, and came up with a fabulous solution.

photo 2 (2)

You can see here that I unbuckled both straps and then re-buckled one across me. I then took the other strap and wrapped it around my waist, attaching it into the buckle on the other side.I could not believe the difference this made. The pack sat higher on my back and the weight was distributed more evenly. You can tell by my smile that I’m much happier (although I did take this picture once I had completed the 10km route, so that may have influenced my grin as well!).

Obviously those magical makers of Tatonka knew what they were doing when the designed the straps to unbuckle. I’m certainly glad I learnt this lesson now, instead of half way up the side of a volcano!

So, here is the big question…what on earth do I name my little Tatonka day pack?? Let me know in the comments!

Pura Vida!

Kate

Meet Tatonka

Yes, it’s official, the backpack has been purchased. I’m pleased to announce the arrival of our new bundle of joy, Tatonka.

Finding a backpack was actually harder than I thought it would be. After a lot of research on backpacking websites, chatting with experienced backpackers, and multiple trips to MEC, I determined my backpack needed the follow two and a half things.

1-Side Loading: My current backpack loads from the top, and I’m always rummaging around looking for things. Undoubtedly, there are things that fall to the bottom that never see the light of day. If you are going to be staying in one place, a top loading pack would likely be fine (as I’m assuming you would unpack everything anyways), but, since we are bouncing around, I wanted to make sure I had easy access.

2- Two Compartments: While we are travelling, I plan on working out, running on beaches, and doing all sorts of things that will make my clothes smelly, and my shoes dirty. As much as I am opening my mind to the idea of “roughing it,” I’d rather not contaminate all my clothes with my stench. Hence the rationale of the two compartments. One side for things I’d like to keep clean, and one of the not so clean items.

2.5-  My final criteria was having an day pack that attached to my main backpack. Why is this a .5 you may ask? I wasn’t actually completely sold on the idea at first. When I envision what our travelling style will be, I doubt that there will be many times where I would have my day pack attached to the bag itself. When we are on the move, I imagine I will be wearing my day pack on my front with my valuables in it. I figure that only time it would come in handy would be on our way home, when our bags are so full of junk, that I need to buy a new one to carry on. Then I could just attach the daypack and check it on the plane. Also, many of the bags with attachable day packs didn’t seem very well equipped for attachment. The ones I saw had a few buckles to attach it, leaving the back susceptible to being ripped off in an airport or theft. Yet, as I priced out the bags, I realized how much money I would save if I found an all in one unit that had both packs together, plus it would save me the hassle of starting pack shopping all over again. Ultimately, I was wishy washy about the whole idea.

Once I knew what I was looking for, the search began. Enter Pinterest. You may laugh, but I found that Pinterest was the best way for me to organize all the packs I found. I would cruise around online, and as soon as I found a pack that hit my criteria, I would pin it to my board for future review.

In addition to my social media savy search, I checked out a couple of stores here in Victoria. I spent lots of time in MEC, Robinsons and Atmosphere. I made sure I spoke with employees to get their opinions. It was great to hear first-hand experience about the packs.

After three weeks of searching, I was beginning to get a little anxious. Not only were there very few packs that met my criteria, the ones that did were tipping the scales at $400plus. On a fateful Friday afternoon, I made one last ditch effort and popped into Capital Iron (a local “we have everything” store in Victoria). I chatted with an amazing employee, and told him all about my plight. His reponse…”You need a Tatonka.”

Tatonka?

I’d never heard such beautiful words…and she was…beautiful.

1568200-tatonka-great-escape-60-with-detachable-daypack-picture-big


I purchased the Tatonka Great Escape 60, which literally has everything I need and more.

Features:

– Two big compartments that can be converted to one if needed.

-A side loading zipper for easy access.

-A detachable day pack (which also has two compartments), that is secured by an industrial zipper.

-A protective layer that can be zipped over the packs straps for easy travel

-A duffel bag conversion, so the bag can be worn over your shoulder as needed.

-A semi-reasonable price tag. At $200 it was at the top end of my budget, but the fact I was getting the two bags out of the deal sold me.

1450049_10152936973638538_1039753958_nSo here we are. Tatonka and Kate, lifelong friends. Or at least for the next 5 months. I’ll do a follow up post during the trip, and let you know if all the trials and tribulations of tracking down Tatonka were truly worth it!

What kind of backpack do you have? What do you like about it?

Pura Vida!

Kate