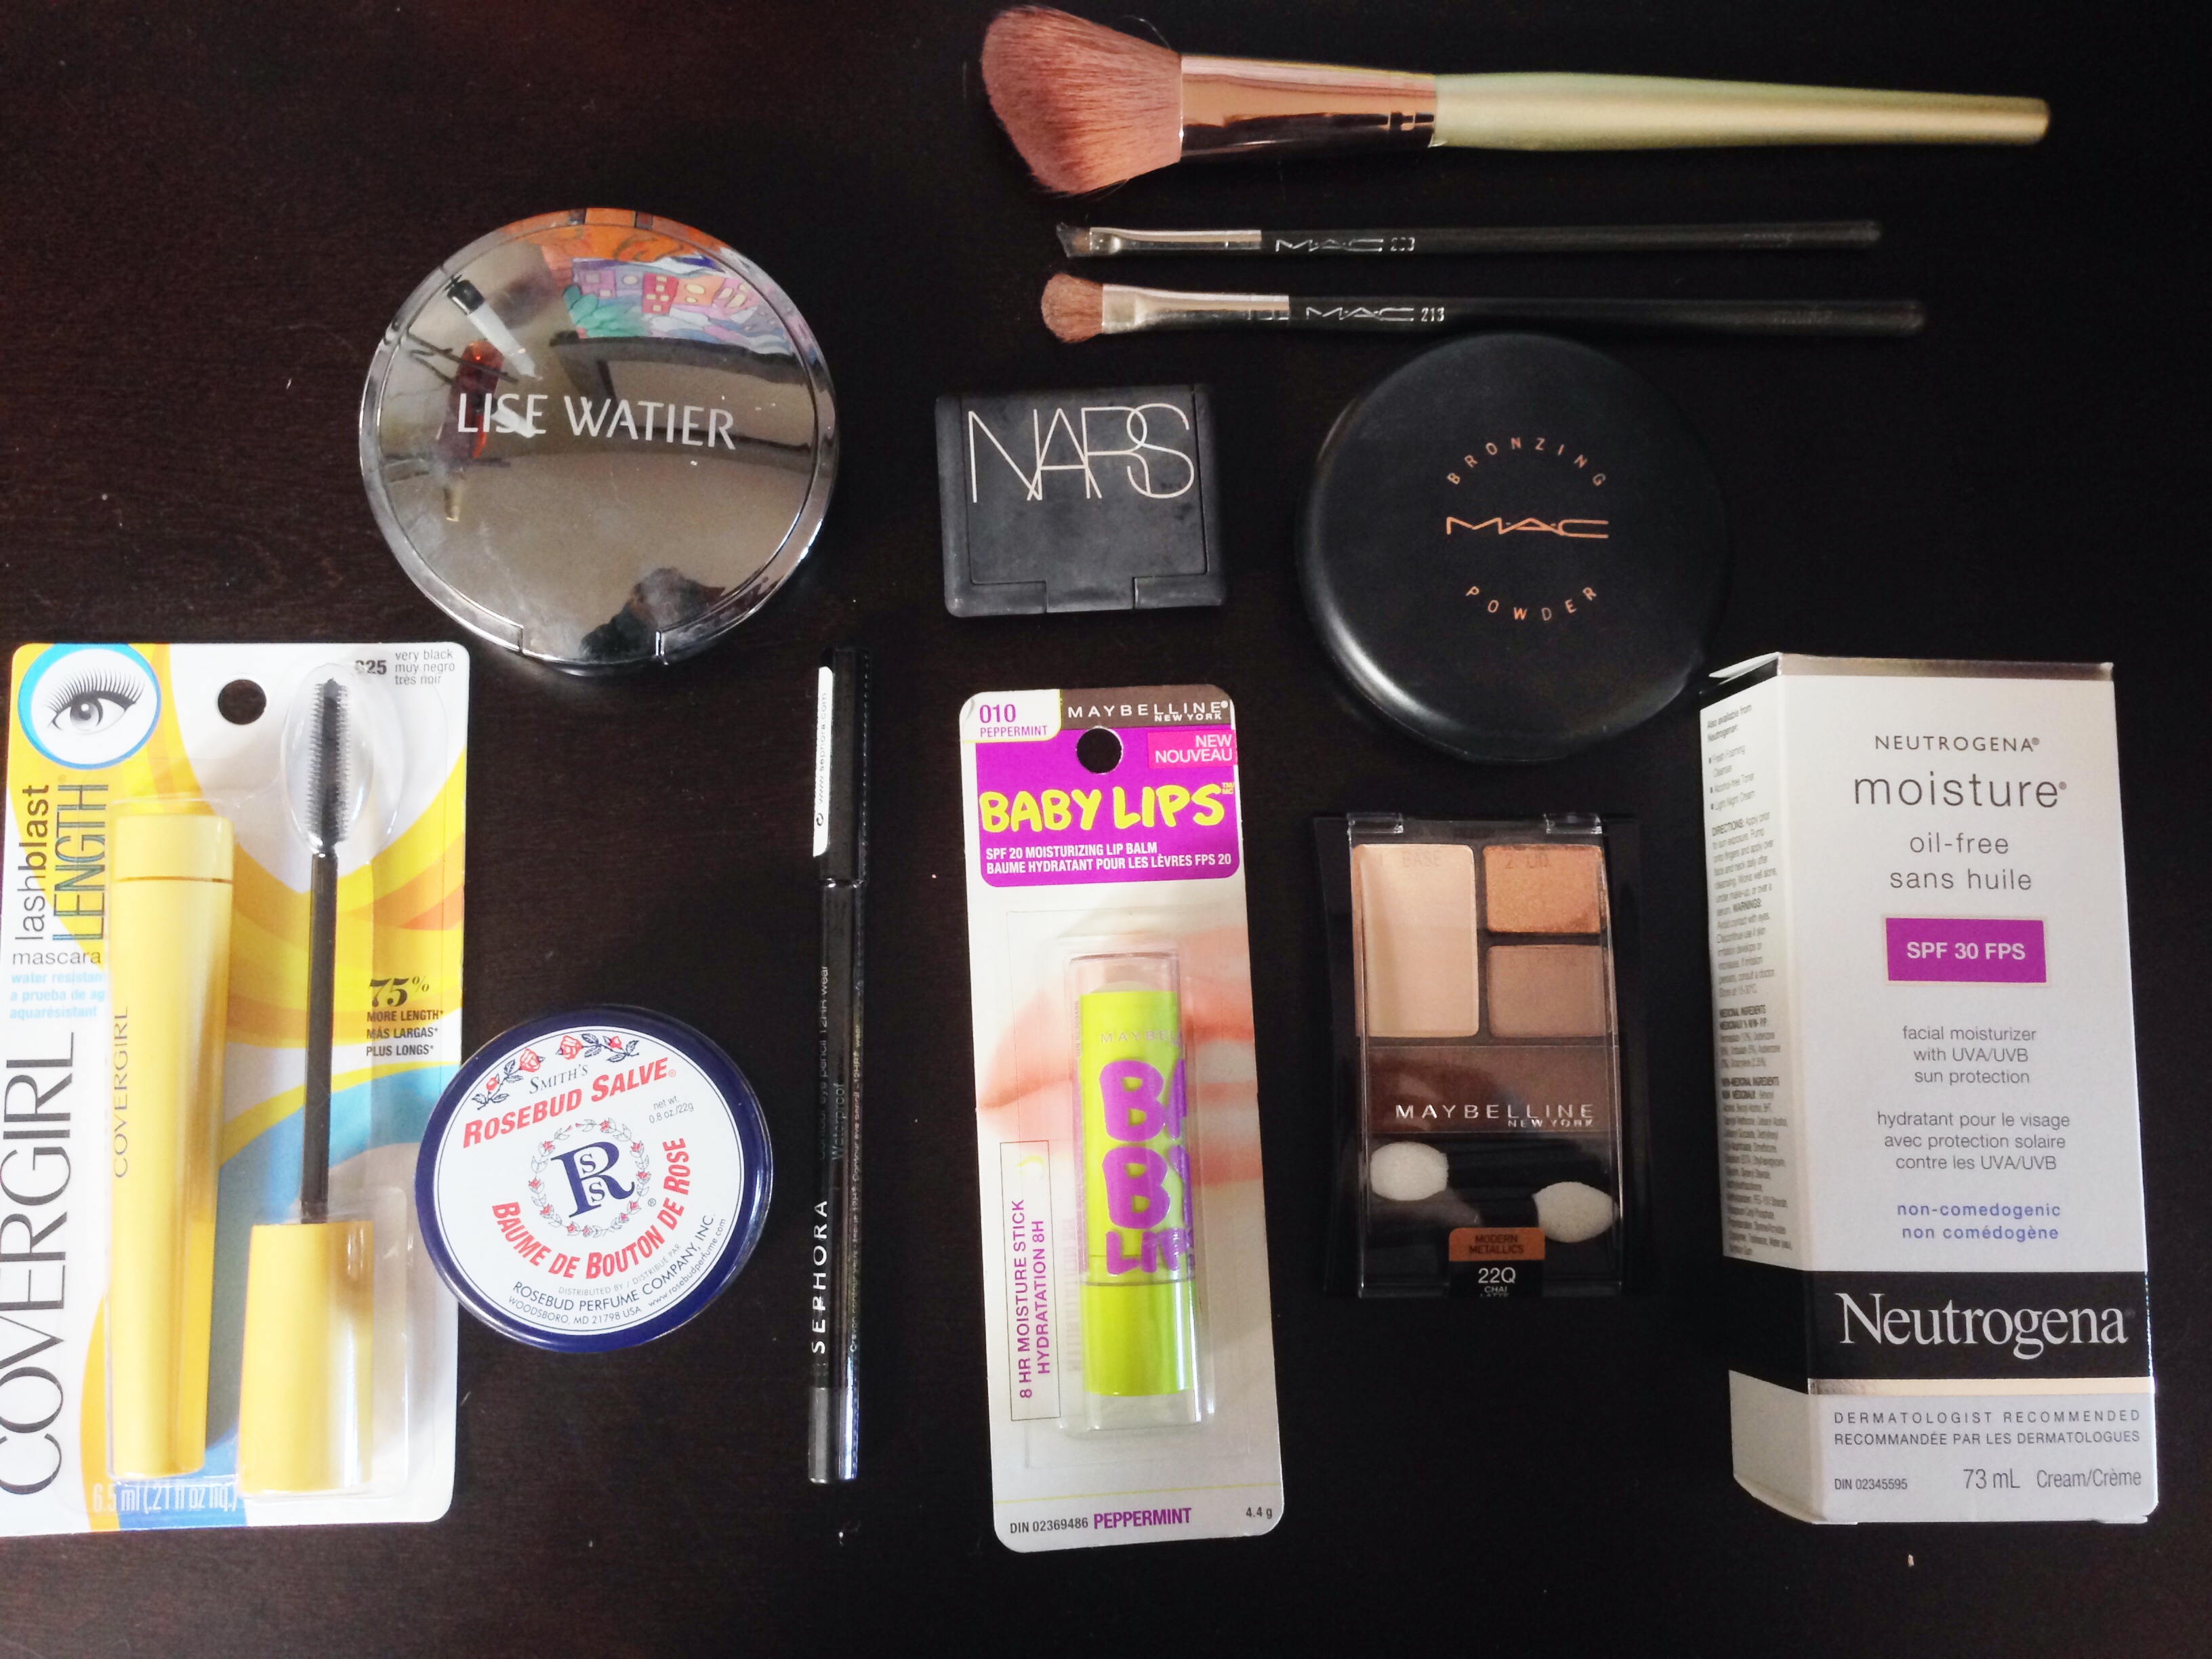
With a name like Hostels and Hot Rollers, you can imagine I know a thing or two about hair.
If I’m given the opportunity to get glam I’m going with big hair, like June Carter Cash. When I’m at home, hair spray, blow dryers, and curlers are my friends.
Here… Things are a little different.
A big day for hair is day I manage to wash my hair. A glam day is a day I wash it with hot water!
Luckily braids work best when your hair is dirty. It’s like all the dirt, and sweat makes a natural gel (ew?). I thought I would share a couple of my go to looks that I’ve been rocking during our time here.
You don’t have to be on vacation to try these ladies, I wear these low maintenance looks back home as well!
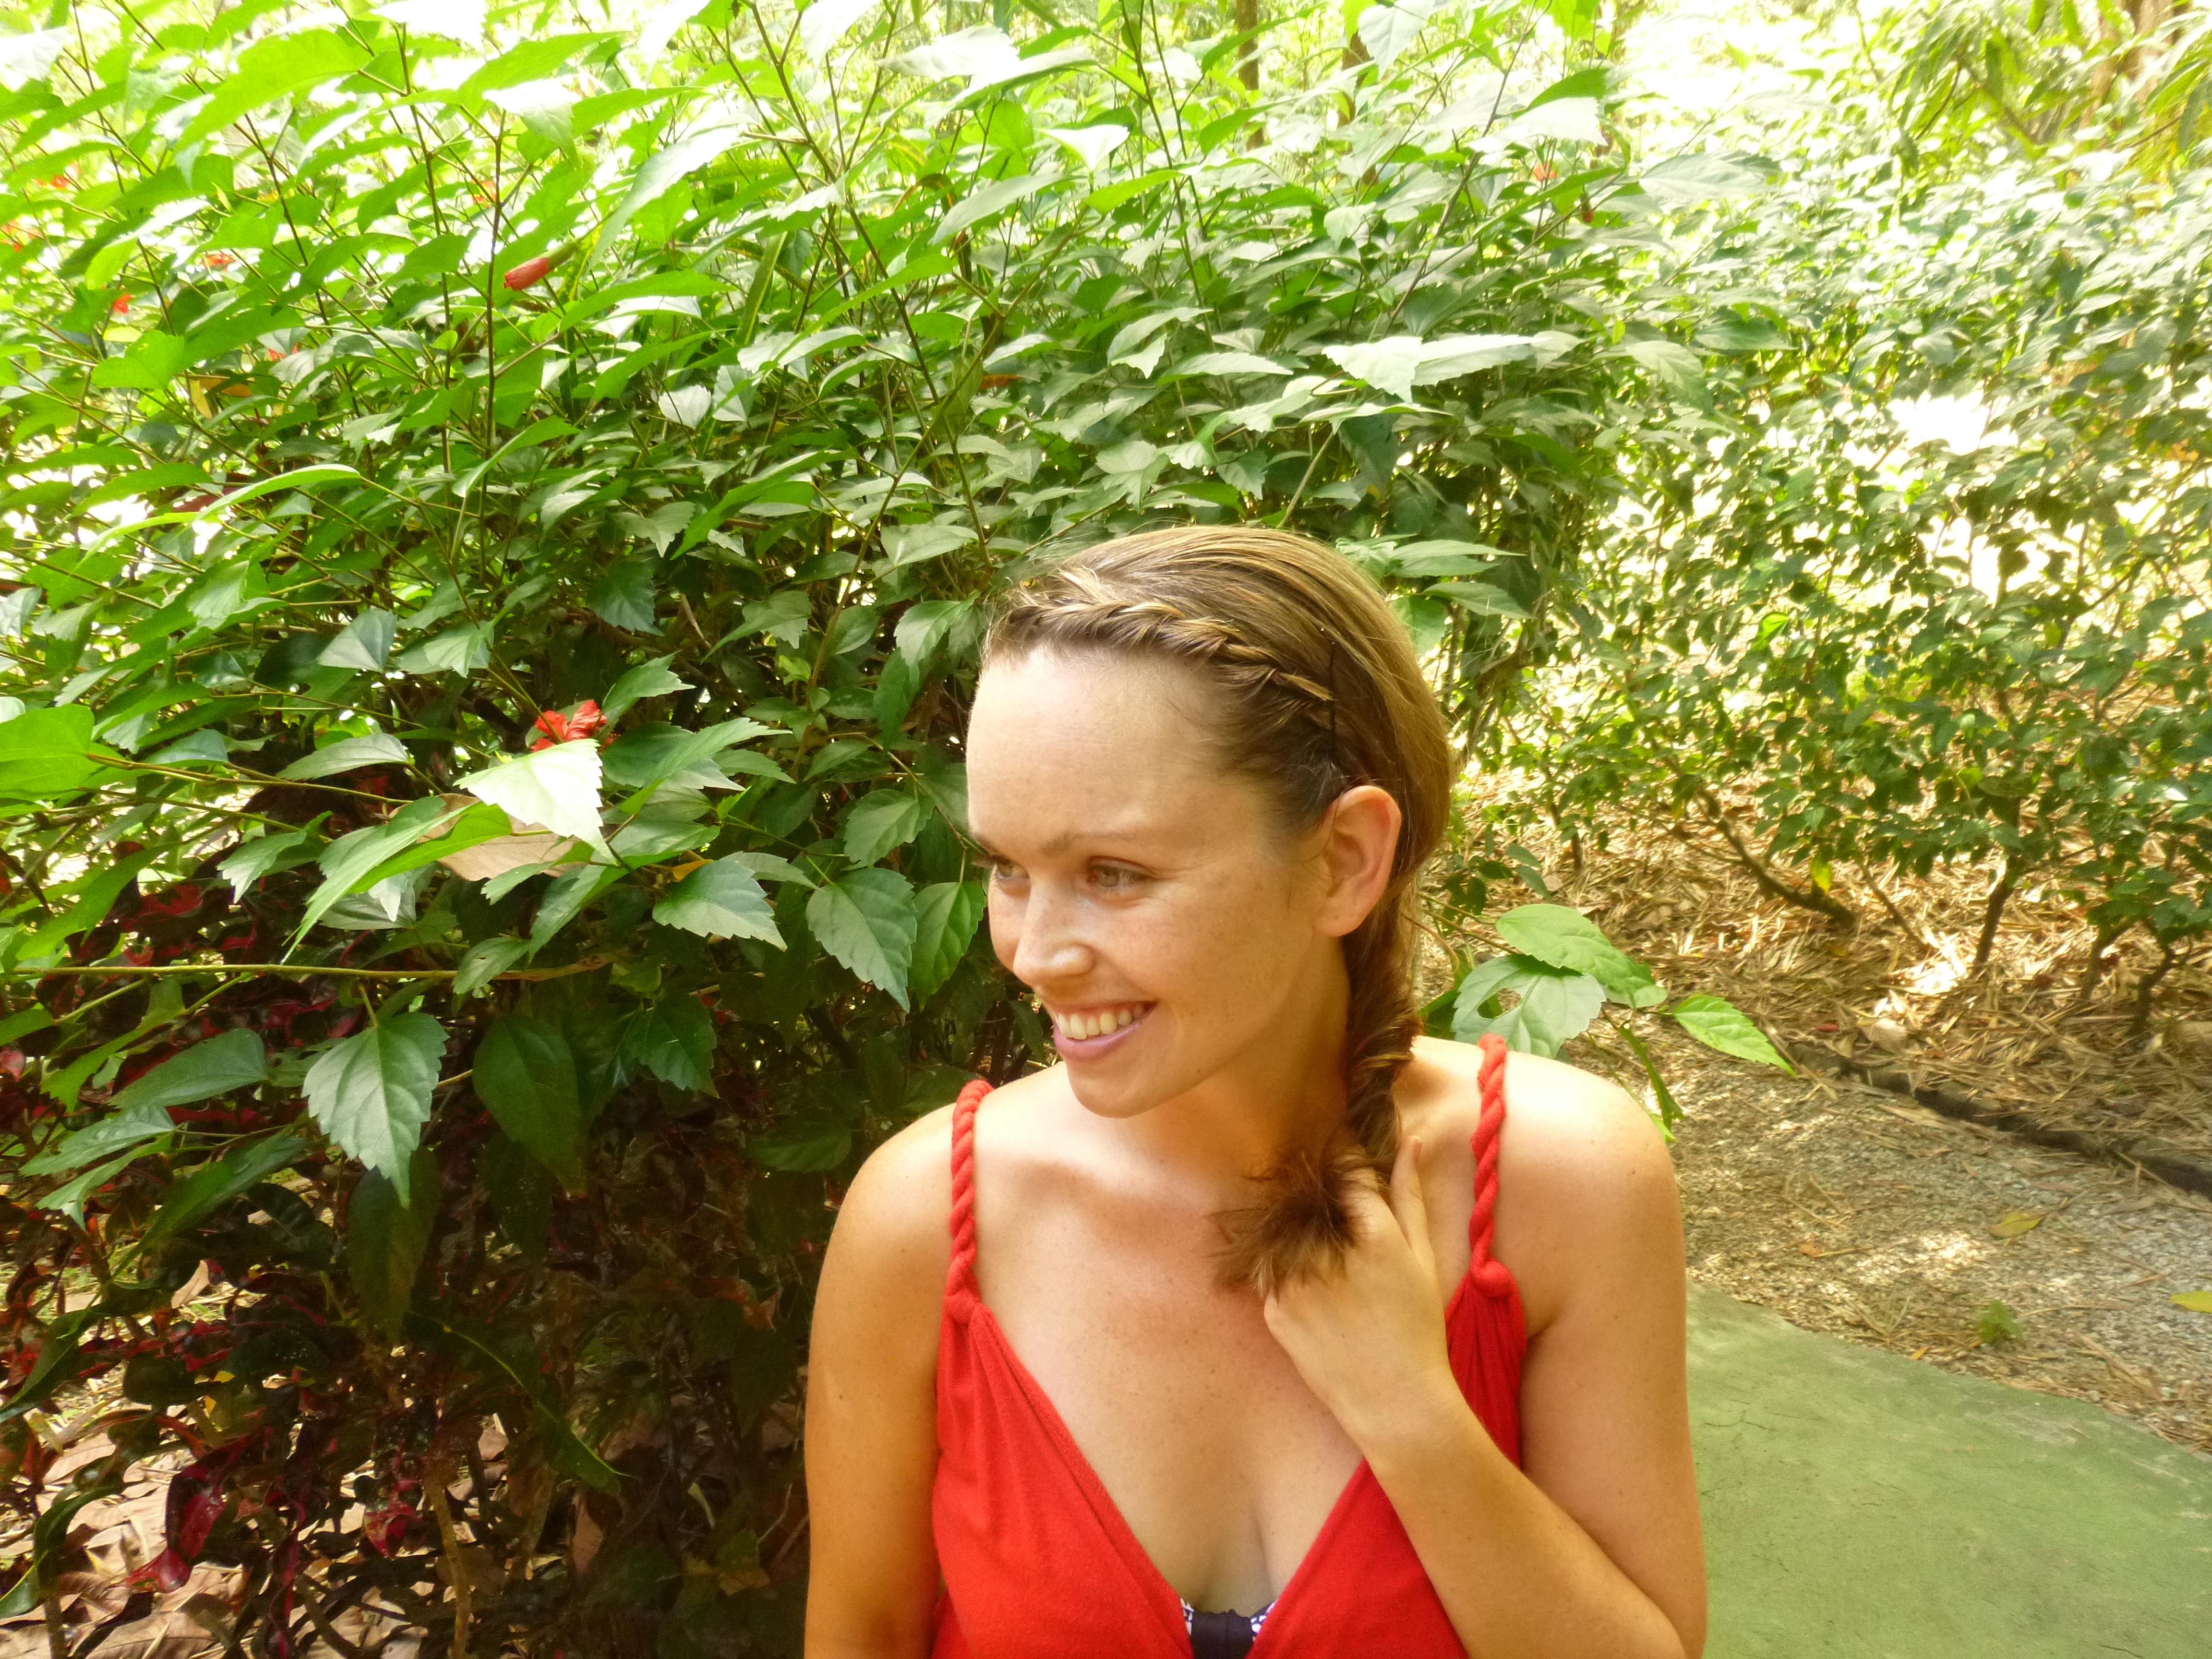
The side twist
The side twist: I have bangs. Bangs that have seen the light of day four times in the nearly seven weeks we’ve been here. Sweat, lack of hair dryer, and my intense cowlick mean most days I twist my bangs to the side, and pin them with two bobby pins. Here is how I do it
1- Separate the entire section you want to twist and brush the rest or your hair back.

Twisty strands over each other
2- Decide where you want your twist to start, and separate the hair in that area into two pieces. I usually start mine two inches above my ear.
3-Twist the strands across each other once, then gather some more hair into the front of your hair, and twist again.

bobby pin time
4-Repeat the process until you’ve reached the other end of your head, and secure it with two criss-crossing bobby pins.
Once you’ve practiced this a couple times, you can do this in your sleep. It is my go-to hair style for both home, and travel.
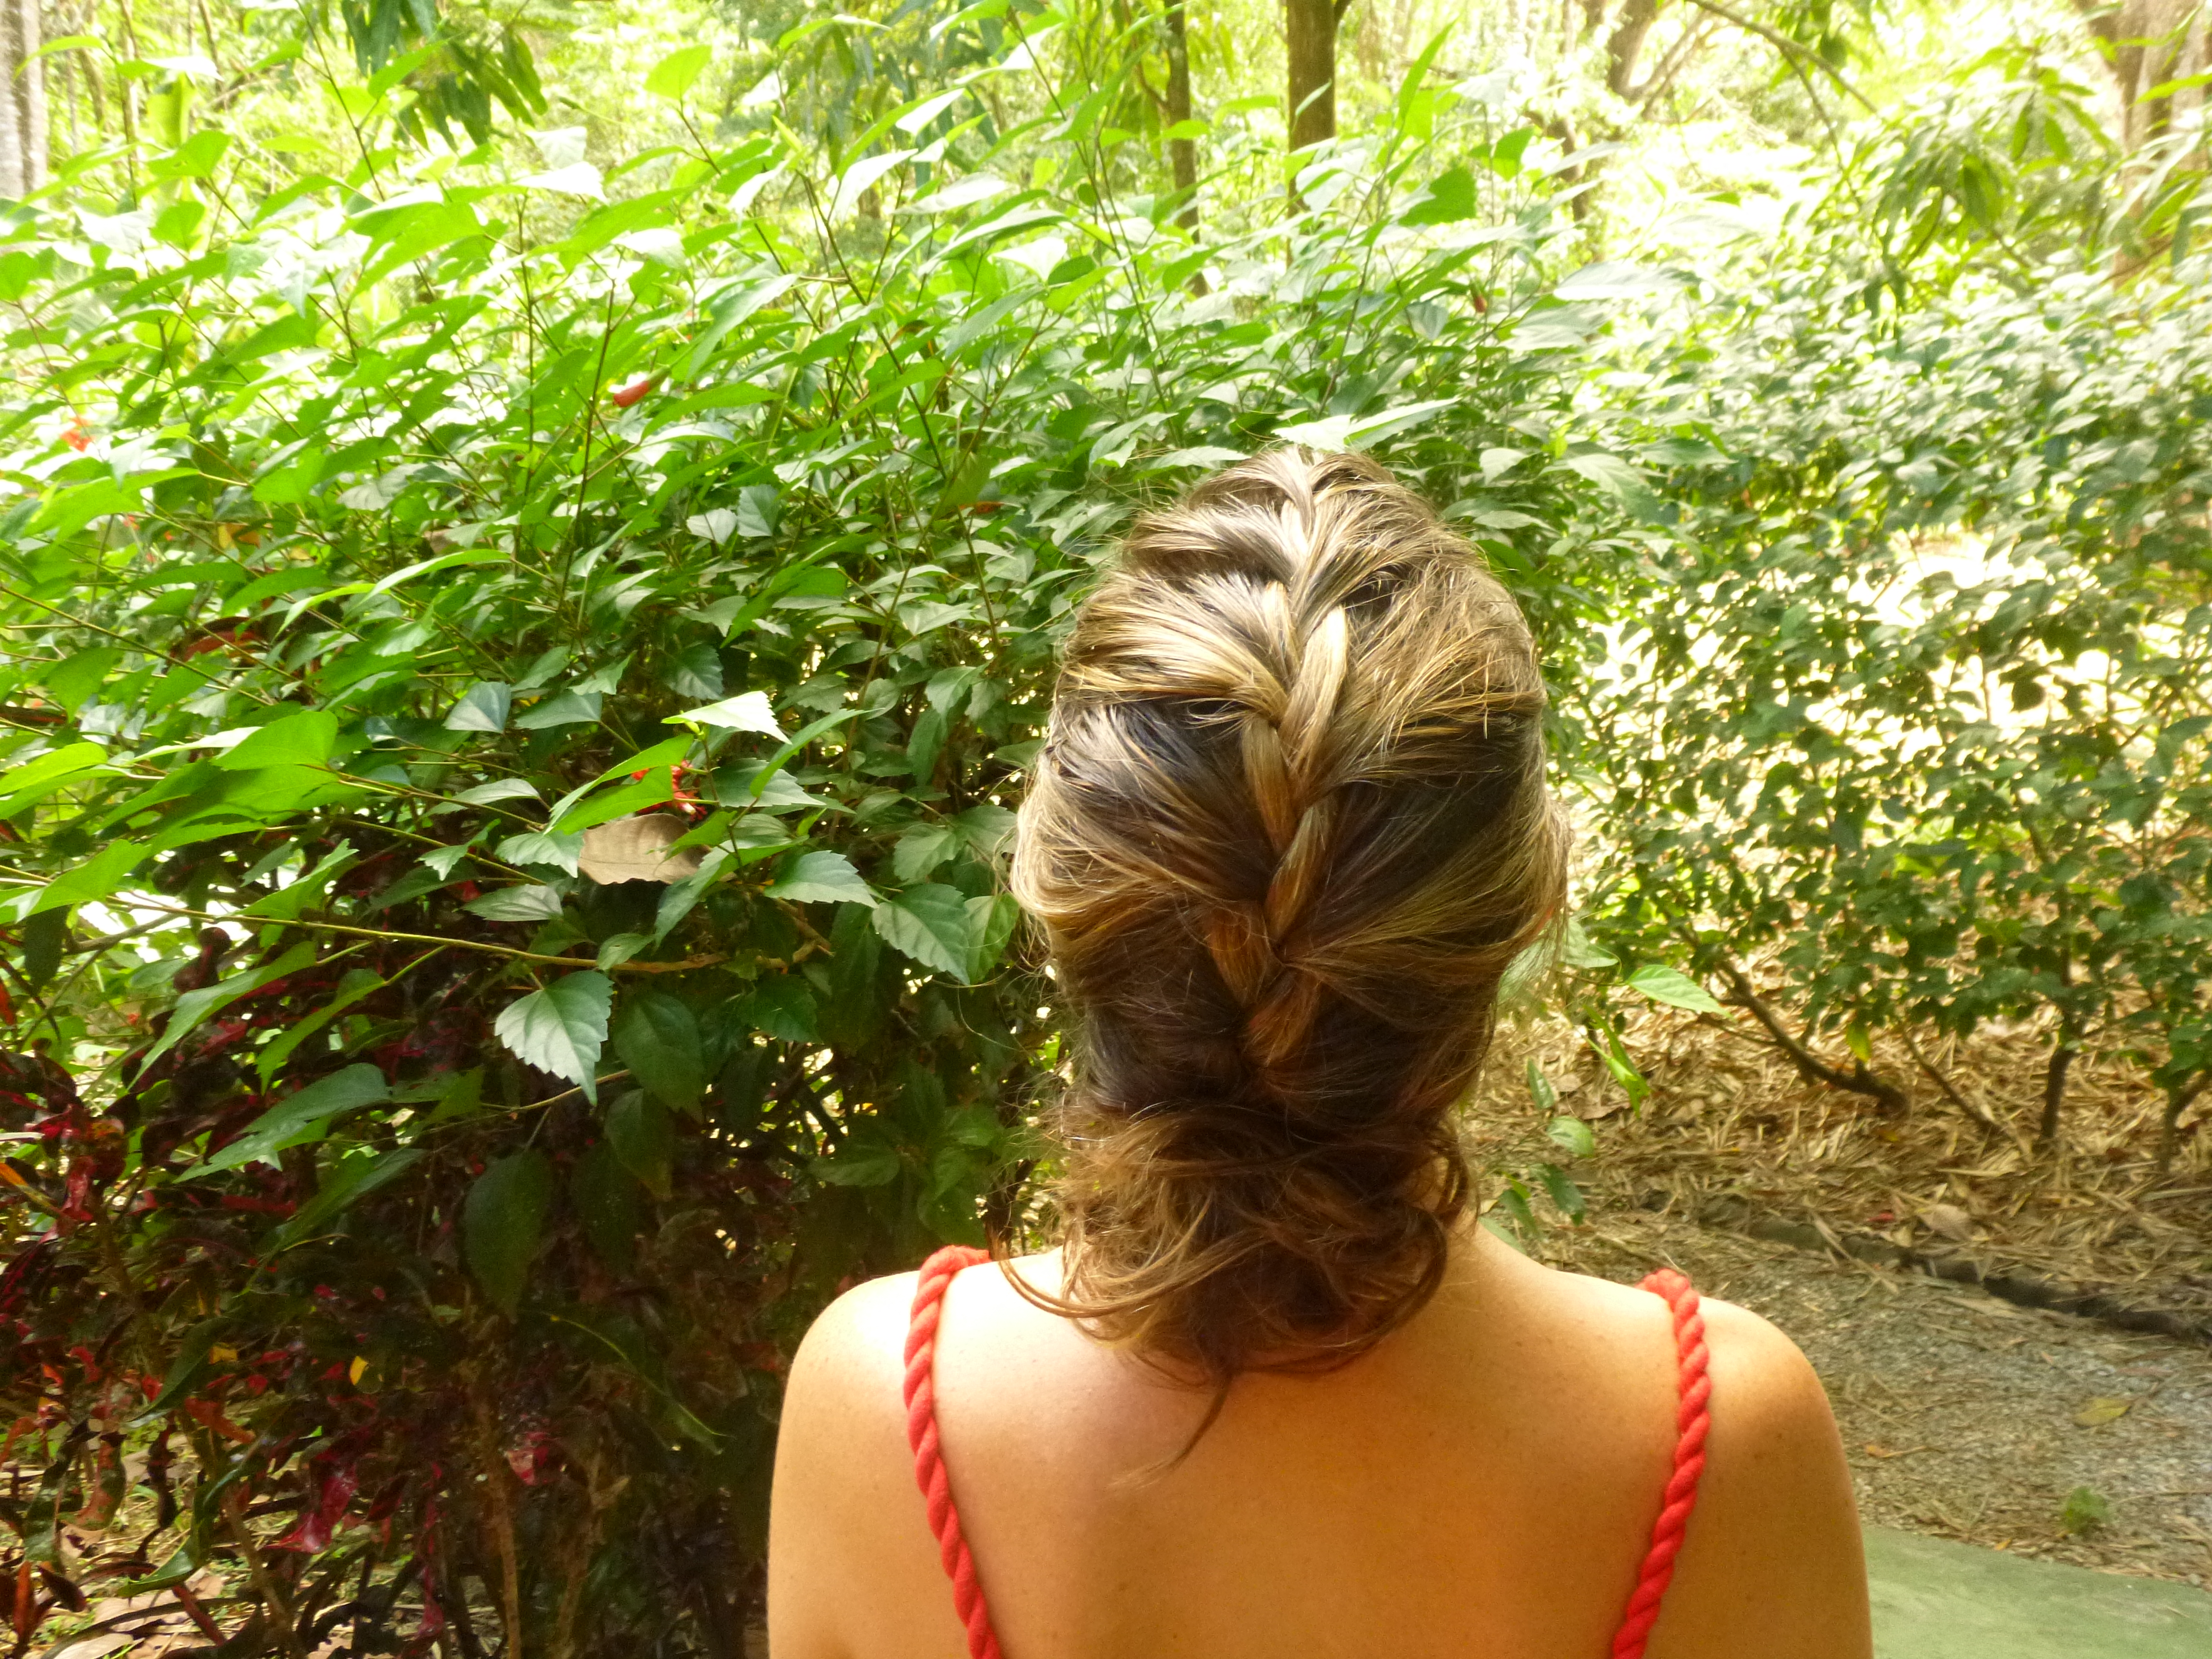
Highlights always look better in a french braid
French Braid: A surfer girl classic. This is a great way to keep your hair out of your face. It also creates a cushion of hair on your head for when your surfboard bonks you in the noggin (speaking from experience!) I love this look because you don’t have any parts showing. It’s the perfect way to avoid the dreaded hair part burn. Check out this tutorial for instructions!

Date Night look!
The Side Braid: Date Night! On the odd occasion I wear my hair down, and want to do something a little fancier then the side twist, this is my go to. Essentially you are creating a side twist but instead of pinning the hair to the side of your head, pull the hair away from your head, split it into three sections, and braid the strands down to the end.

French braid to the side
Once you’ve mastered these two techniques, the world is your oyster. Play around with different angles of braiding, braiding all the way to the bottom of your hair, or just doing the top, and pulling the rest into a bun.
And remember ladies, worst comes to worst…hats are your friend!
What other travel style/beauty tutorials do you want me to write about?
Pura Vida!
Kate
Follow me on Twitter: @caketress